


配置环境:
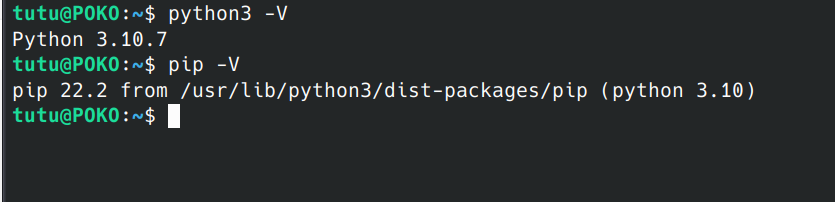
电脑环境基于linux(Kubuntu22.10),安装好了python3以及pip
训练模型基于vscode,需安装python和jupyter插件
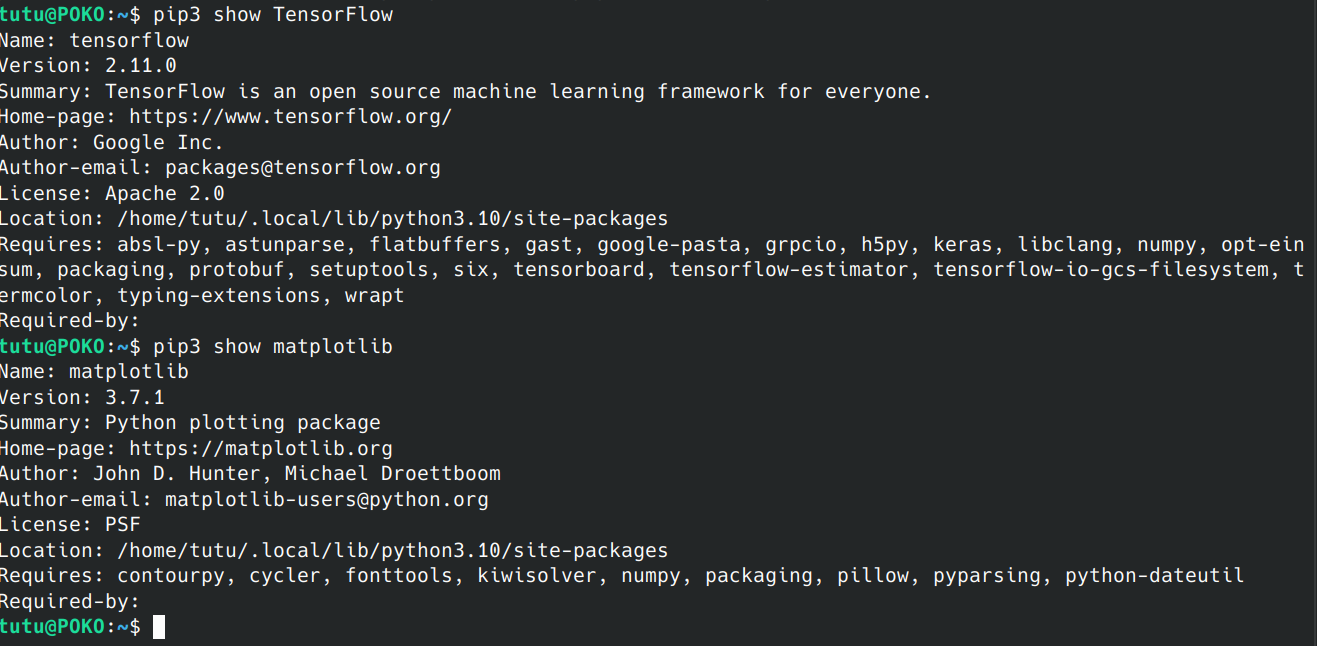
同时需要安装如下包:
TensorFlow,matplotlib,google包
安装包时注意使用国内镜像源以提速,例如:pip3 install -i https://pypi.tuna.tsinghua.edu.cn/simple/ tensorflow
安卓app开发环境
Android Studio版本为2022.1.1

在ubuntu环境下需要安装以下库
sudo apt-get install libc6:i386 libncurses5:i386 libstdc++6:i386 lib32z1 libbz2-1.0:i386【可选】安装中文包https://plugins.jetbrains.com/plugin/13710-chinese-simplified-language-pack----/versions
【可选】根据Android Studio版本选择对应的中文插件,我这里选择的是v221.224,并安装插件
安装SDK,我的Android Studio自动安装了SDK
训练模型
# TensorFlow and tf.keras
import tensorflow as tf
from tensorflow import keras
# Helper libraries
import numpy as np
import matplotlib.pyplot as plt
import random
print(tf.__version__)
# Keras provides a handy API to download the MNIST dataset, and split them into
# "train" dataset and "test" dataset.
mnist = keras.datasets.mnist
(train_images, train_labels), (test_images, test_labels) = mnist.load_data()
# Normalize the input image so that each pixel value is between 0 to 1.
train_images = train_images / 255.0
test_images = test_images / 255.0
print('Pixels are normalized')
# Show the first 25 images in the training dataset.
plt.figure(figsize=(10,10))
for i in range(25):
plt.subplot(5,5,i+1)
plt.xticks([])
plt.yticks([])
plt.grid(False)
plt.imshow(train_images[i], cmap=plt.cm.gray)
plt.xlabel(train_labels[i])
plt.show()
# Define the model architecture
model = keras.Sequential([
keras.layers.InputLayer(input_shape=(28, 28)),
keras.layers.Reshape(target_shape=(28, 28, 1)),
keras.layers.Conv2D(filters=32, kernel_size=(3, 3), activation=tf.nn.relu),
keras.layers.Conv2D(filters=64, kernel_size=(3, 3), activation=tf.nn.relu),
keras.layers.MaxPooling2D(pool_size=(2, 2)),
keras.layers.Dropout(0.25),
keras.layers.Flatten(),
keras.layers.Dense(10)
])
# Define how to train the model
model.compile(optimizer='adam',
loss=tf.keras.losses.SparseCategoricalCrossentropy(from_logits=True),
metrics=['accuracy'])
# Train the digit classification model
model.fit(train_images, train_labels, epochs=5)
model.summary()
# Evaluate the model using all images in the test dataset.
test_loss, test_acc = model.evaluate(test_images, test_labels)
print('Test accuracy:', test_acc)
# A helper function that returns 'red'/'black' depending on if its two input
# parameter matches or not.
def get_label_color(val1, val2):
if val1 == val2:
return 'black'
else:
return 'red'
# Predict the labels of digit images in our test dataset.
predictions = model.predict(test_images)
# As the model output 10 float representing the probability of the input image
# being a digit from 0 to 9, we need to find the largest probability value
# to find out which digit the model predicts to be most likely in the image.
prediction_digits = np.argmax(predictions, axis=1)
# Then plot 100 random test images and their predicted labels.
# If a prediction result is different from the label provided label in "test"
# dataset, we will highlight it in red color.
plt.figure(figsize=(18, 18))
for i in range(100):
ax = plt.subplot(10, 10, i+1)
plt.xticks([])
plt.yticks([])
plt.grid(False)
image_index = random.randint(0, len(prediction_digits))
plt.imshow(test_images[image_index], cmap=plt.cm.gray)
ax.xaxis.label.set_color(get_label_color(prediction_digits[image_index],\
test_labels[image_index]))
plt.xlabel('Predicted: %d' % prediction_digits[image_index])
plt.show()
# Convert Keras model to TF Lite format.
converter = tf.lite.TFLiteConverter.from_keras_model(model)
tflite_float_model = converter.convert()
# Show model size in KBs.
float_model_size = len(tflite_float_model) / 1024
print('Float model size = %dKBs.' % float_model_size)
# Re-convert the model to TF Lite using quantization.
converter.optimizations = [tf.lite.Optimize.DEFAULT]
tflite_quantized_model = converter.convert()
# Show model size in KBs.
quantized_model_size = len(tflite_quantized_model) / 1024
print('Quantized model size = %dKBs,' % quantized_model_size)
print('which is about %d%% of the float model size.'\
% (quantized_model_size * 100 / float_model_size))
# A helper function to evaluate the TF Lite model using "test" dataset.
def evaluate_tflite_model(tflite_model):
# Initialize TFLite interpreter using the model.
interpreter = tf.lite.Interpreter(model_content=tflite_model)
interpreter.allocate_tensors()
input_tensor_index = interpreter.get_input_details()[0]["index"]
output = interpreter.tensor(interpreter.get_output_details()[0]["index"])
# Run predictions on every image in the "test" dataset.
prediction_digits = []
for test_image in test_images:
# Pre-processing: add batch dimension and convert to float32 to match with
# the model's input data format.
test_image = np.expand_dims(test_image, axis=0).astype(np.float32)
interpreter.set_tensor(input_tensor_index, test_image)
# Run inference.
interpreter.invoke()
# Post-processing: remove batch dimension and find the digit with highest
# probability.
digit = np.argmax(output()[0])
prediction_digits.append(digit)
# Compare prediction results with ground truth labels to calculate accuracy.
accurate_count = 0
for index in range(len(prediction_digits)):
if prediction_digits[index] == test_labels[index]:
accurate_count += 1
accuracy = accurate_count * 1.0 / len(prediction_digits)
return accuracy
# Evaluate the TF Lite float model. You'll find that its accurary is identical
# to the original TF (Keras) model because they are essentially the same model
# stored in different format.
float_accuracy = evaluate_tflite_model(tflite_float_model)
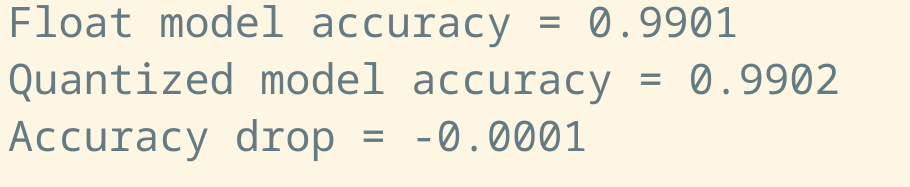
print('Float model accuracy = %.4f' % float_accuracy)
# Evalualte the TF Lite quantized model.
# Don't be surprised if you see quantized model accuracy is higher than
# the original float model. It happens sometimes :)
quantized_accuracy = evaluate_tflite_model(tflite_quantized_model)
print('Quantized model accuracy = %.4f' % quantized_accuracy)
print('Accuracy drop = %.4f' % (float_accuracy - quantized_accuracy))
# Save the quantized model to file to the Downloads directory
f = open('mnist.tflite', "wb")
f.write(tflite_quantized_model)
f.close()
# Download the digit classification model
from google.colab import files
files.download('mnist.tflite')
print('`mnist.tflite` has been downloaded')运行结果如下,并得到一个训练好的模型数据mnist.tflite文件
调试安卓app
下载项目包https://github.com/tensorflow/examples/archive/master.zip
导入项目

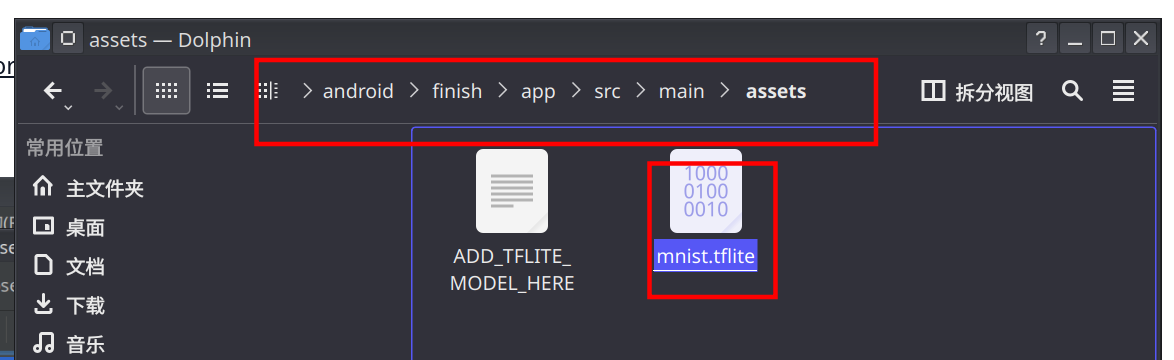
将训练好的模型放入指定文件夹中
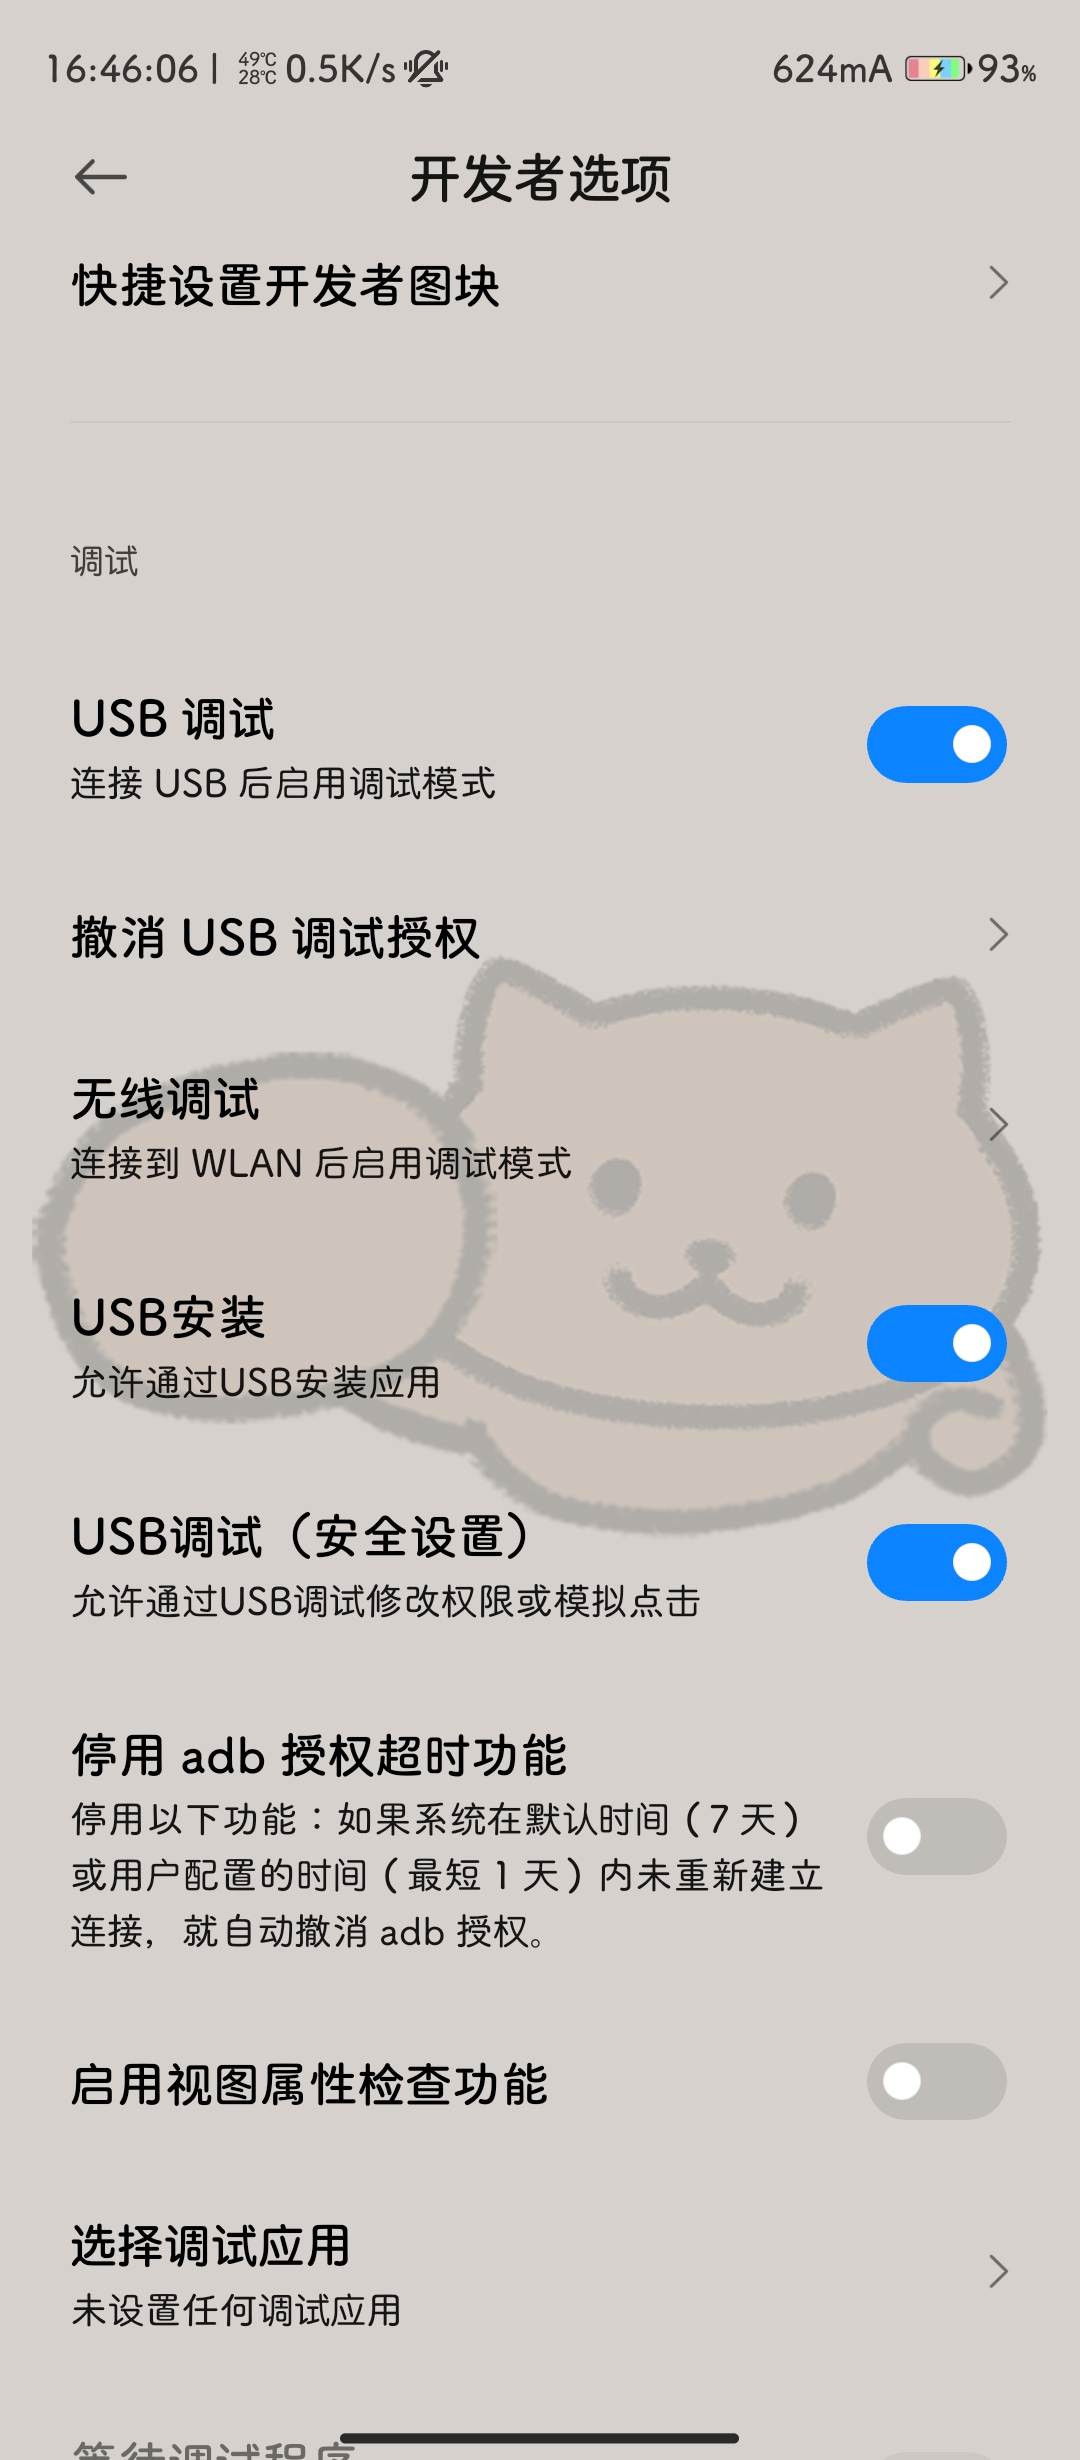
安卓手机开发者模式,打开usb调试(无线调试也可)
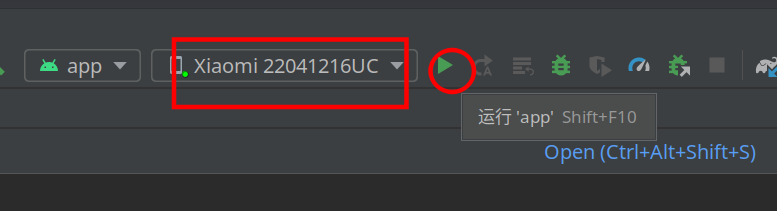
链接数据线,在Android Studio中选择插入的手机设备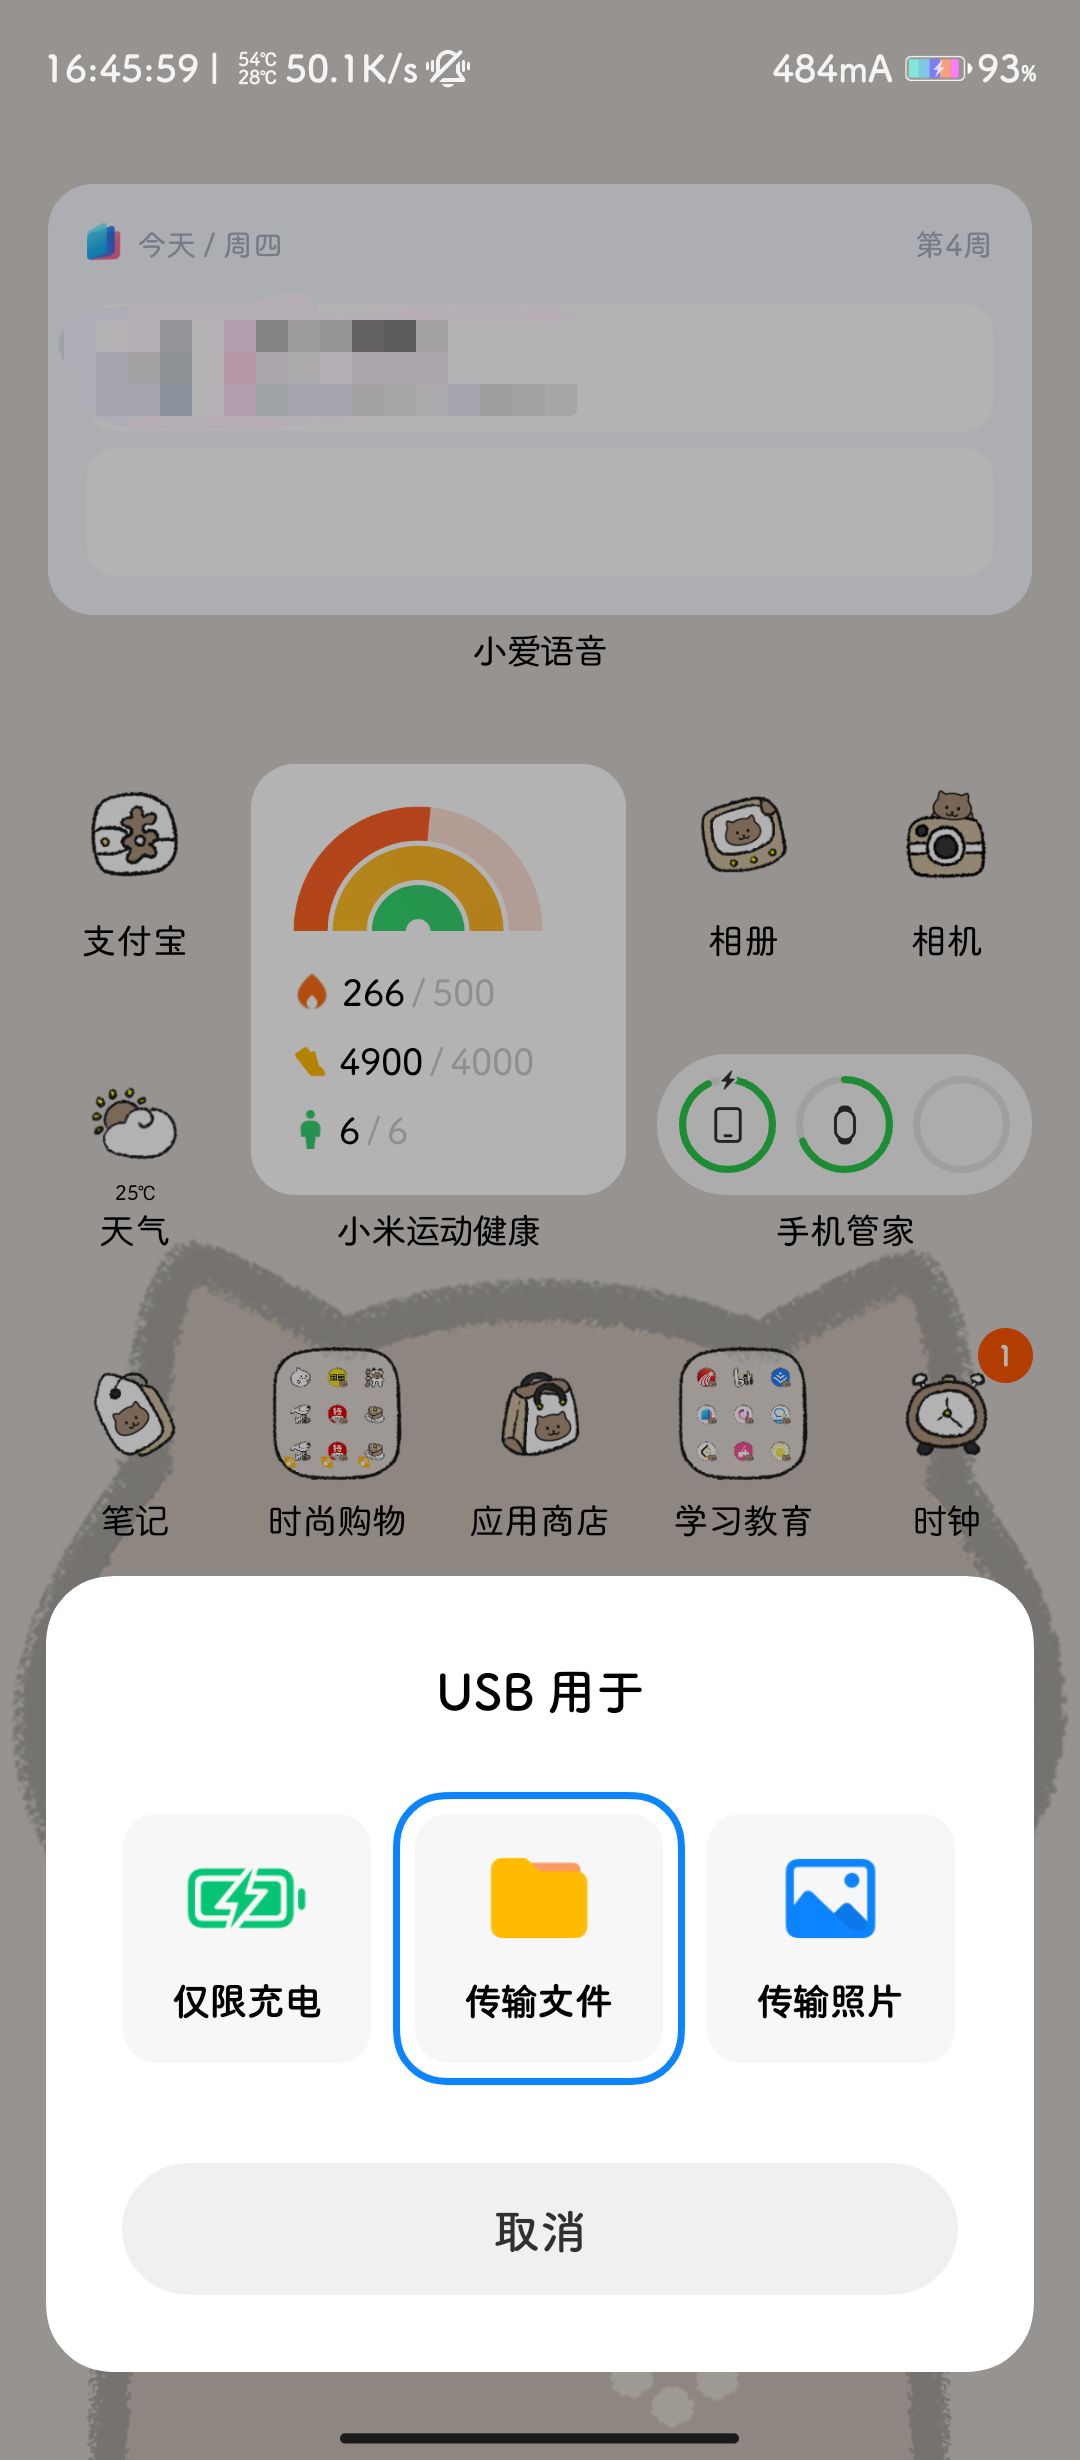
这里注意一定要打开文件传输,我当时因为这里卡了半小时
在Android Studio选择手机设备,并点击运行app,手机上便会自动打开虚拟app
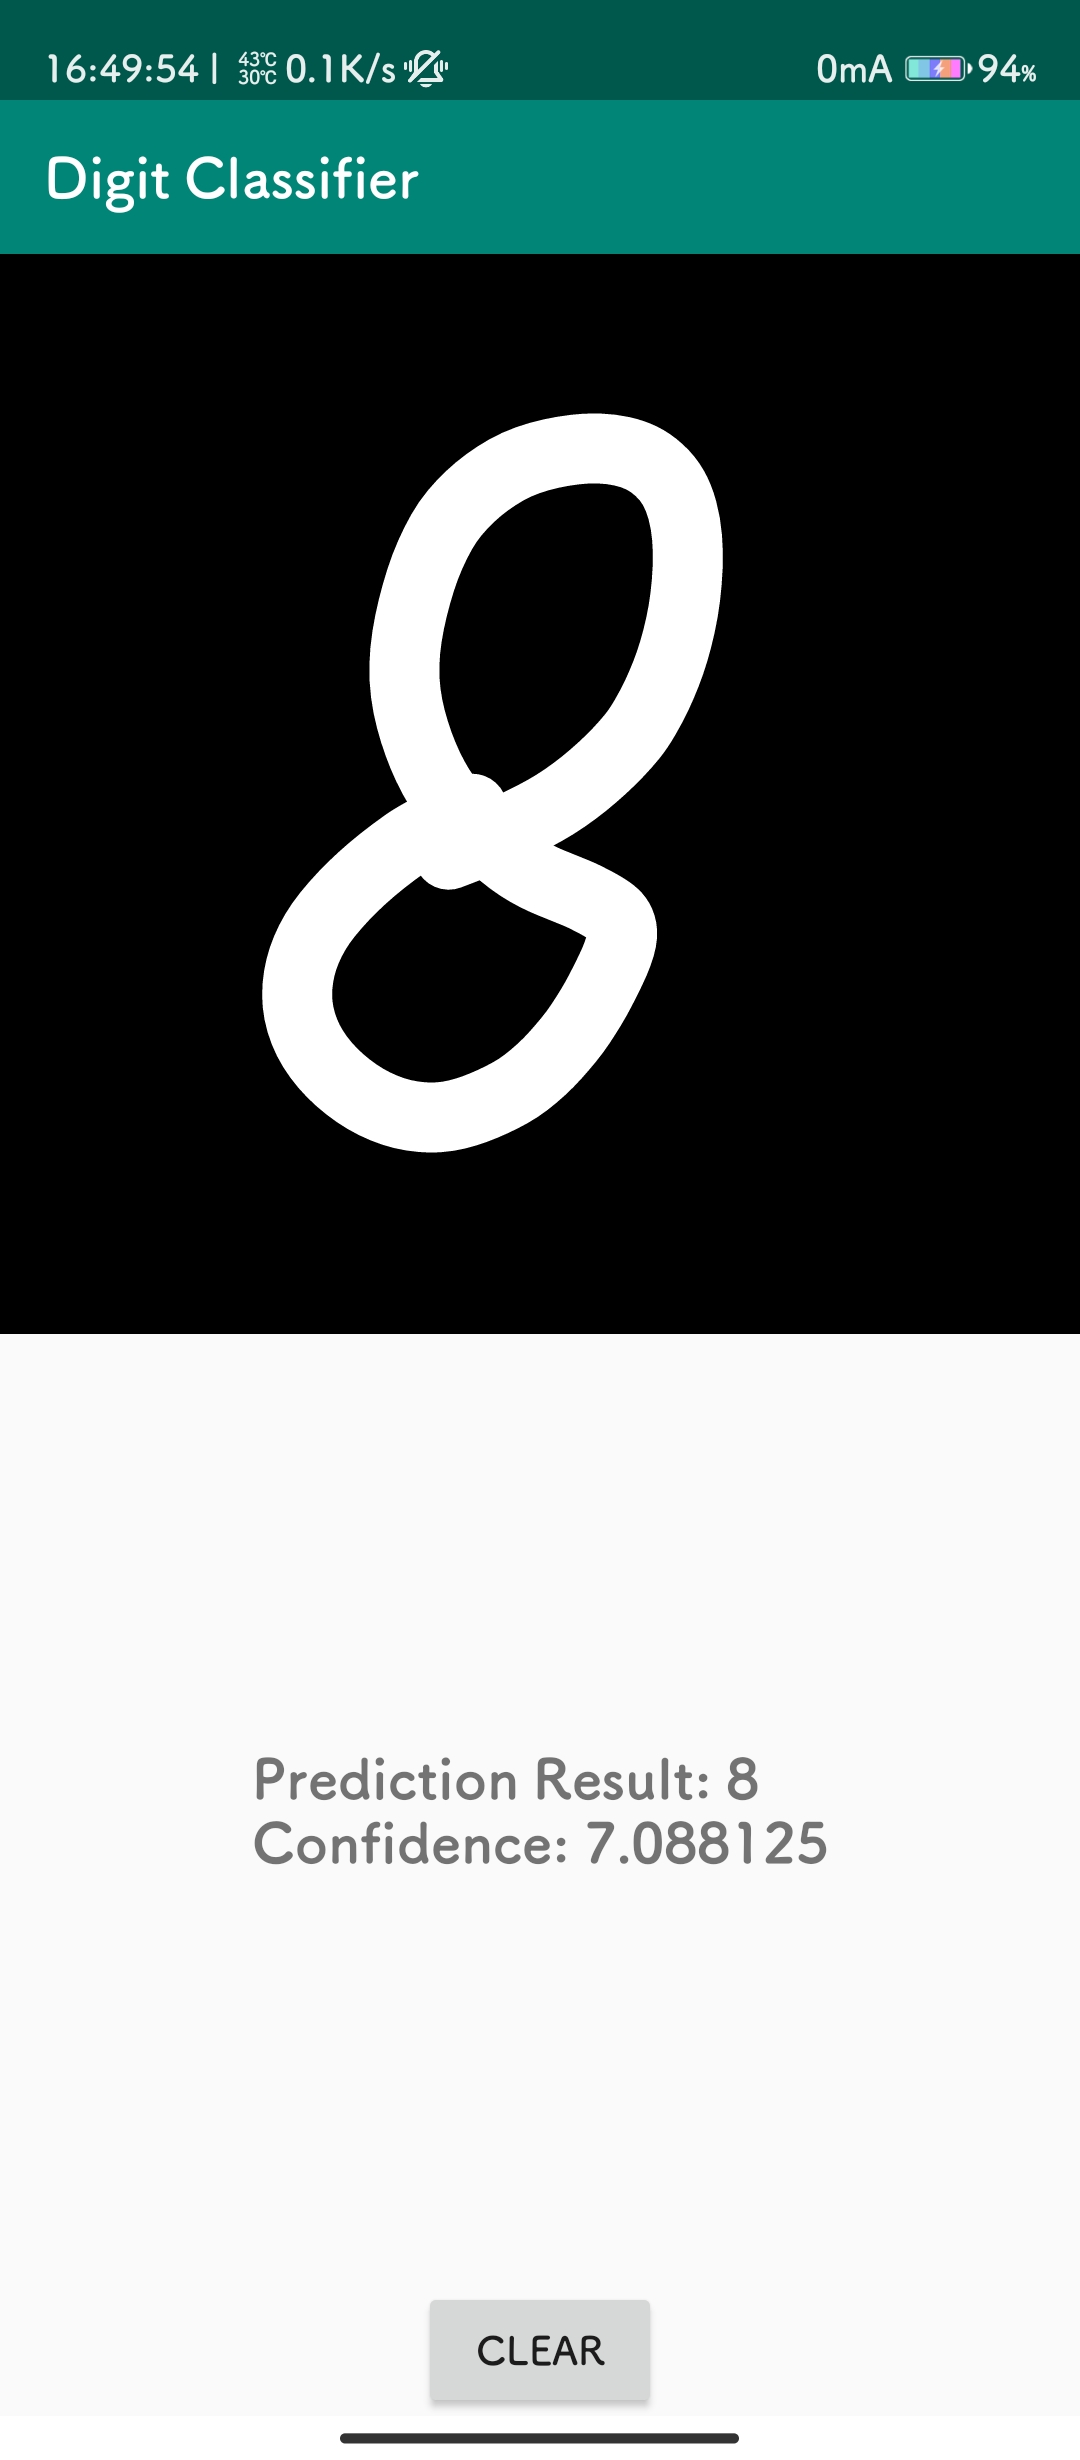
 结果展示
结果展示
手写数字并能正确识别
评论区